

We are very proud of ourselves. 😊 This was a big team effort through many cold, wet days ☔️ (and some nights) squeezed in between work commitments and recovering from injuries. Plenty of anxiety from cutting and fitting glass too. 😣 There was no plan, we made it up as we went depending on the windows and other resources we could find. 😅 Our landlords deserve a massive ‘thank you’ for trusting us and allowing us the freedom to do this.
It’s made from recycled windows, door, bricks, wire and timber as well as some new timber, Laserlight roof panels, paint and screenings for the floor. My husband hand crafted the sliding door hardware from some steel he had. 👌🏻🙌🏻
Below is the journey from start to finish:

It all started 15 weeks ago when I saw a bunch of windows listed for free in our neighbourhood on Marketplace. I said to my husband, I reckon there are enough windows there to make an entire glasshouse. To my surprise he said “do you want to give it a go?” I said yes and we went and collected the windows before they were snatched up by someone else. Following that, we asked our landlords if they were okay with it and they were.:-)


The big windows were still in their wooden frames which was very handy and their size at 2.7m was perfect for two entire walls – well almost entire walls. We weren’t yet sure of how to deal with the slope of the land. Two of the other windows combined made a perfect back wall, 3m long. The best bit about these windows is that I can open them in Summer and manage ventilation.

At this point we were undecided about many things, like how to do the front wall with the glass we had leftover, how to fill the gaps under the three walls and how to shape the roof. I finally decided on a pitched roof rather than a flat roof which sloped backwards so we pushed on with building the roof. Unfortunately, we couldn’t find any second hand materials adequate for the roof so we used new corrugated polycarbonate sheets. Glass would have been too difficult to handle and very risky in a hail storm.
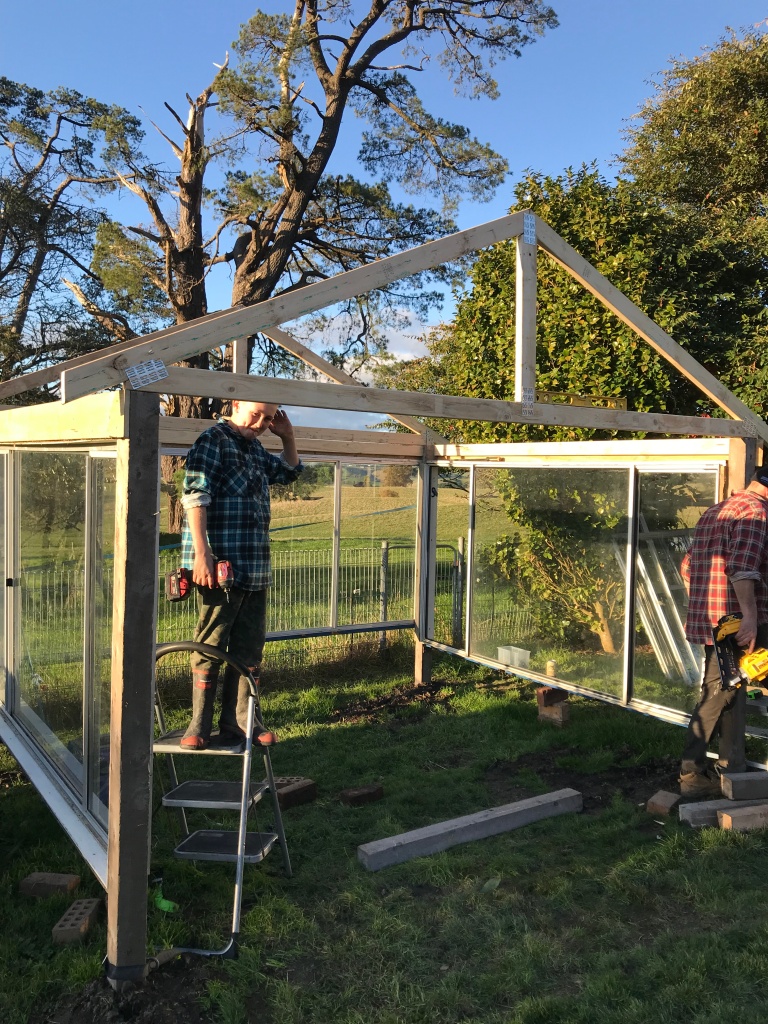


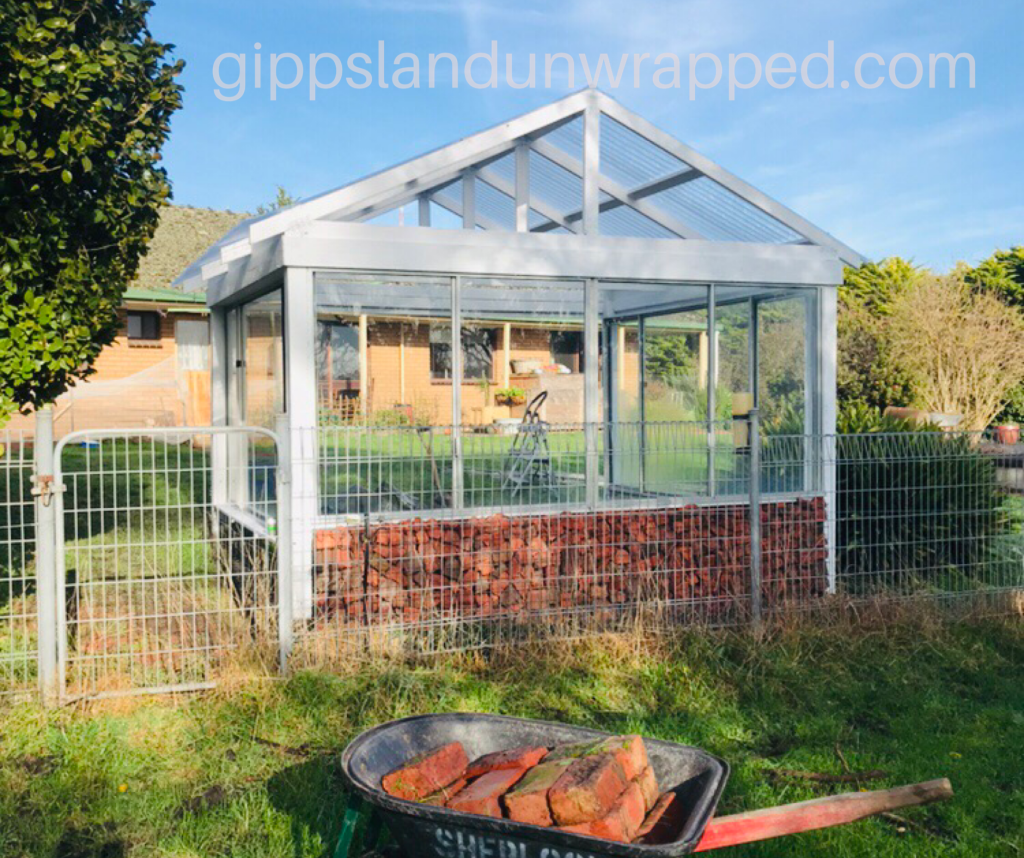
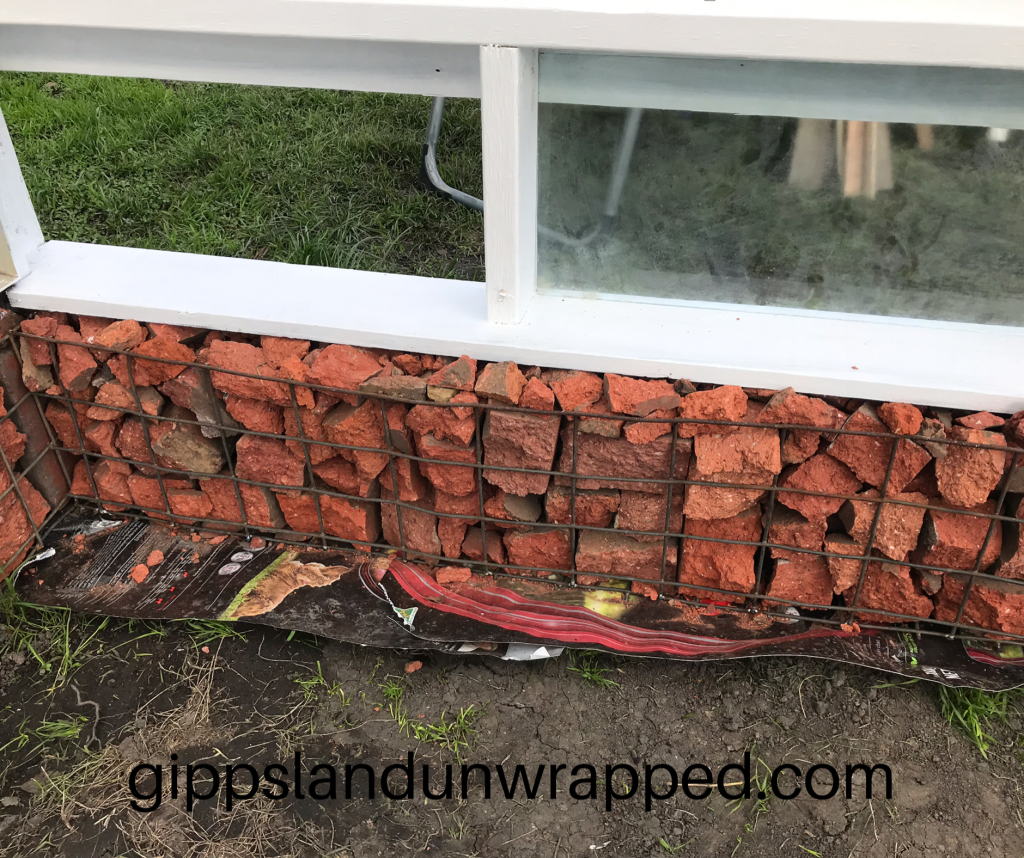
By the time the roof was complete I had the idea to fill the spaces under the windows with gabion walls using the old bricks under the tree in the paddock. We’d been considering more glass or wooden panels, but once I had this idea it was a no brainer. The bricks store heat throughout the day and slowly release it through the night which helps make temperatures more stable. Wetting the bricks and letting it evaporate can also increase humidity. We think the gabion walls really transformed the glasshouse into something magnificent. The wire mesh cages were made from repurposed wire on the property that was no longer being used.


We thought about different configurations for using the remainder of the windows for the front wall and including a door but it just wasn’t working out. We decided we would pull the remaining windows out of their aluminum frames and cut them to fit the triangular sections under the roof. There was a bit of a learning curve to using a glass cutter and a lot of anxiety about breaking the glass and running out of pieces the correct size, but we got there in the end!
We started a new search for second hand windows that would fit either side of a door (also secondhand) and found a friend had some the perfect width but not quite tall enough. Given the project was starting to drag out we decided to go with them and cut some smaller panels from the scraps to sit underneath. It turned out pretty good!

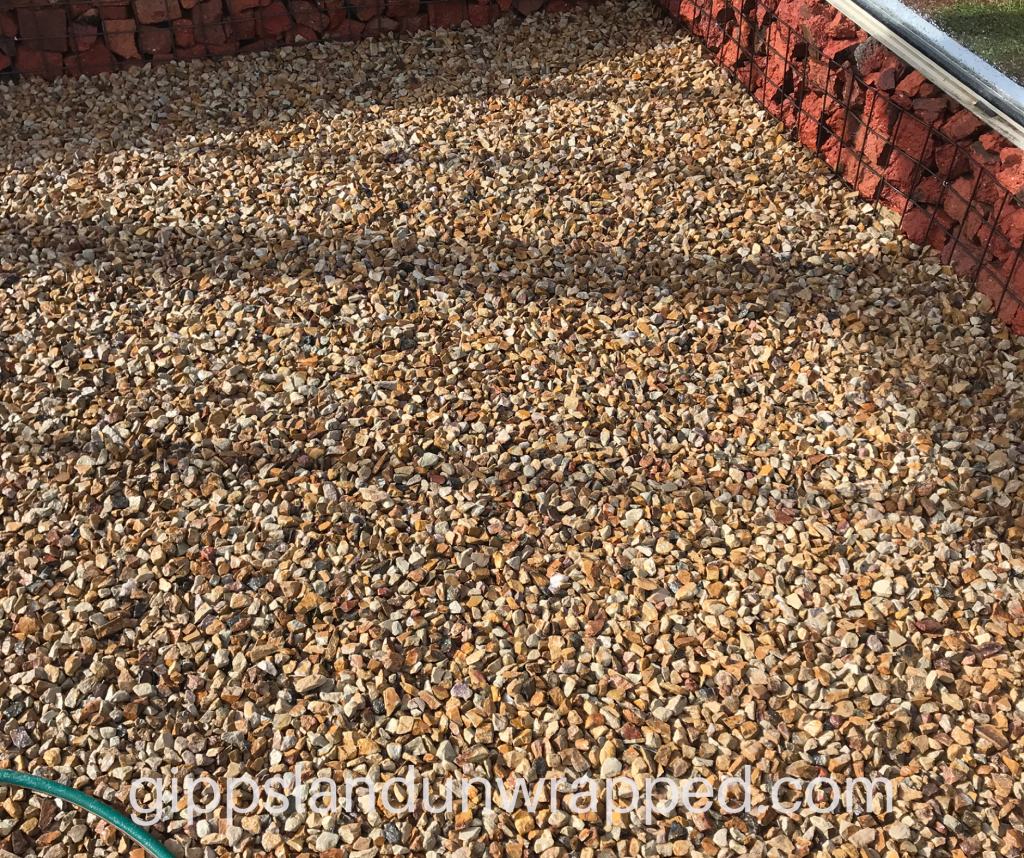
Having the front wall sorted meant I could finish the gabion walls at the front (I used dog food bags as weed mat, I’d really hate to have grass growing up through these walls) and add screenings as my floor base. This was another transformational stage and got us really excited about getting to the end.
Somewhere along the line we knew we wanted the door to be a sliding door and had looked into barn door hardware kits, which were more expensive than we wanted to spend and they were all specified for indoor use. So, my husband made the hardware himself. It works brilliantly and looks amazing.


Some final paint touch ups…

And joy for finally finishing!

Here’s the finished glasshouse from a few different angles. I feel so lucky to have this!
Now I have to learn how to use a hot house properly and produce fabulous food! Feel free to give me your tips.


Source link


